
![]()
![]()
![]()

Create a Blazor App project in Visual Studio 2019 |
Jan
06
|
| « Username and Password for minikube Virtual Machine | Install a stand-alone SQL Server 2019 Enterprise Server » |
“
Testing Environment Information
- Windows 10 Enterprise: Version 1909 (OS Build 18396.535) (Type winver or systeminfo at a Command Prompt)
- Visual Studio Enterprise 16.4.2
- Testing Date: 1/6/2020
“
Summary
MVC was kind of confusing for me, I am happy that Blazor is here and I look forward to continuing my journey into coding now.
Blazor is a new web UI framework based on C#, Razor, and HTML that runs in the browser via WebAssembly. Blazor greatly simplifies the task of building fast and beautiful single-page applications that run in any browser. It does this by enabling developers to write .NET-based web apps that run client-side in web browsers using open web standards. If you already use .NET, this completes the picture: you’ll be able to use your skills for browser-based development in addition to building server and cloud-based services, native mobile/desktop apps, and games. If you don’t yet use .NET, our hope is that the productivity and simplicity benefits of Blazor will be compelling enough that you will try it.
- Blazor Official site: https://dotnet.microsoft.com/apps/aspnet/web-apps/blazor
- Blazor Documentation: https://docs.microsoft.com/en-us/aspnet/core/blazor/
“
Update Visual Studio
You will need Visual Studio 16.4 or later with ASP.NET and Web Development workload installed. See more info at: https://docs.microsoft.com/en-us/aspnet/core/blazor/get-started
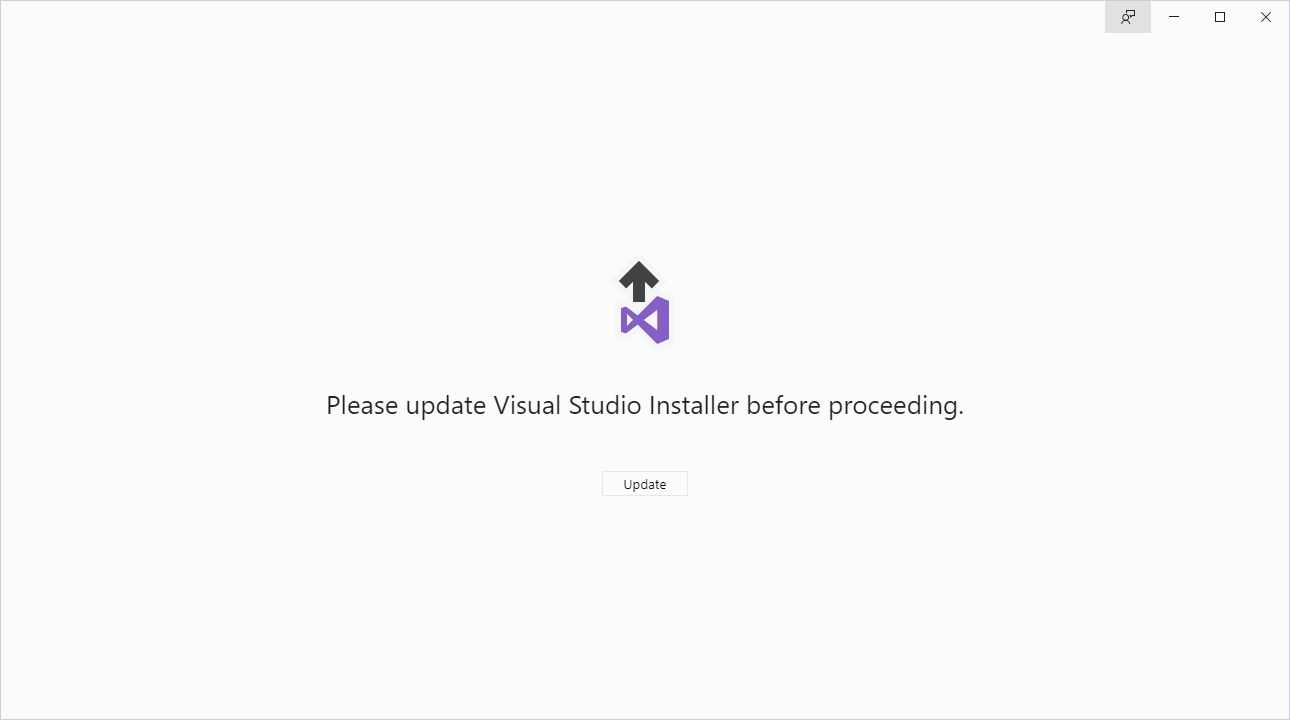
If you are running a version prior to 16.4 or to check your version, Open Visual Studio Installer from the start menu. Sometimes the installer it self needs to be updated, which is the case in the screenshot below. Press Update.
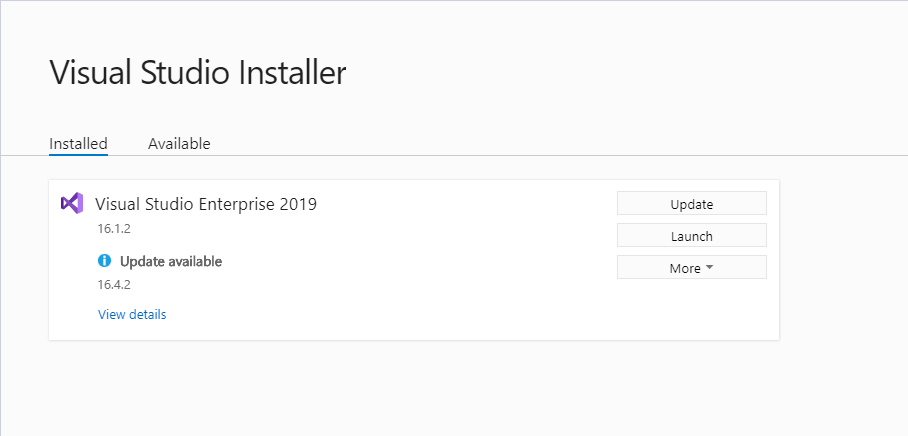
Once the Visual Studio Installer is updated, you will be able to see your current version and see if there is an update available. In my case, I will update to 16.4.2. Press Update.
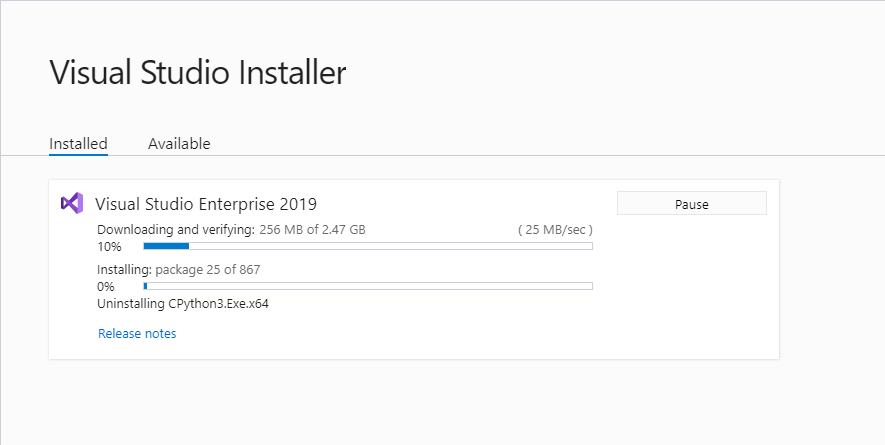
The installer will download and install the necessary files.
“
Create Blazor App project:
After the update is complete
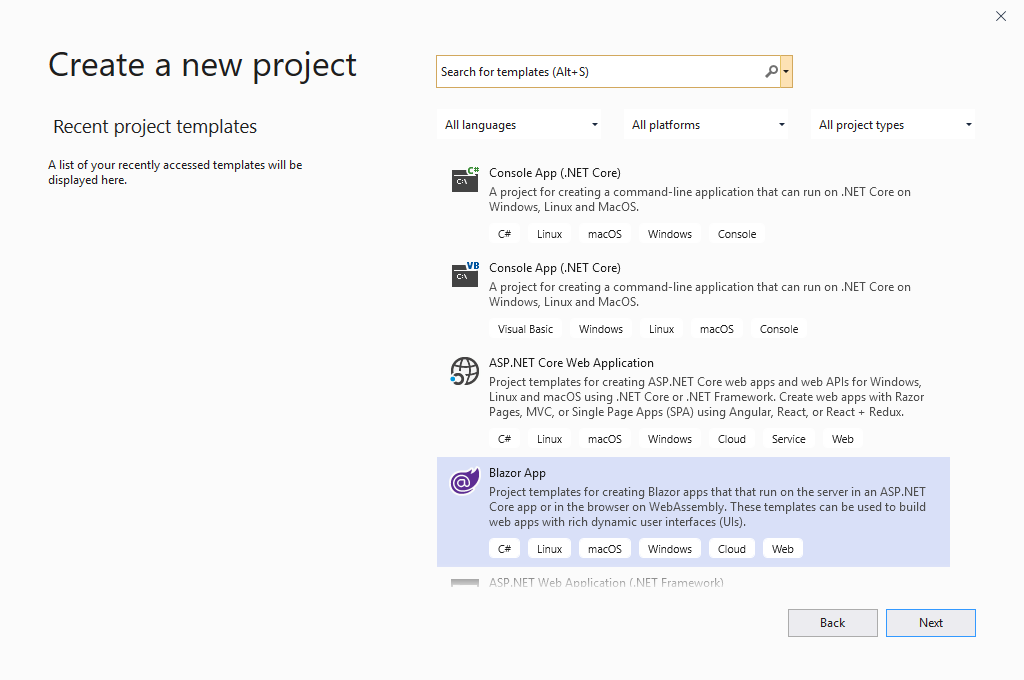
Open Visual Studio and select “Create a new project”
You should now see “Blazor App” as an option, if you don’t please check to see if you have .NET Core 3.1 SDK installed in Visual Studio using the Visual Studio installer.
Select your “Project name“, “Location” of your local repository and the “Solution name“. I always leaved the “Place solution and project in the same directory” unchecked.
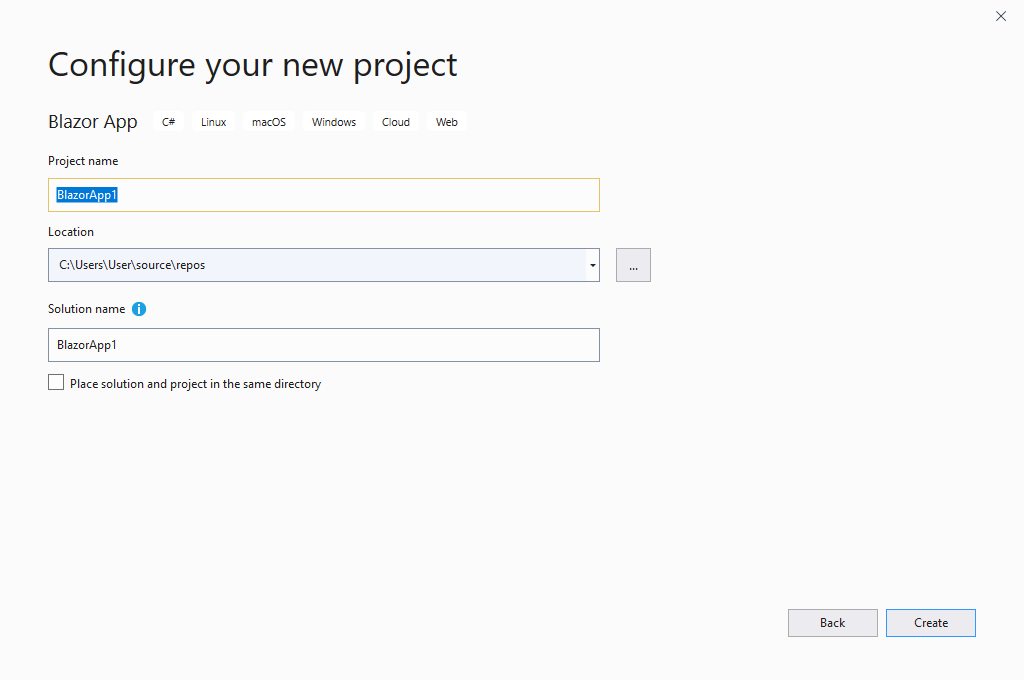
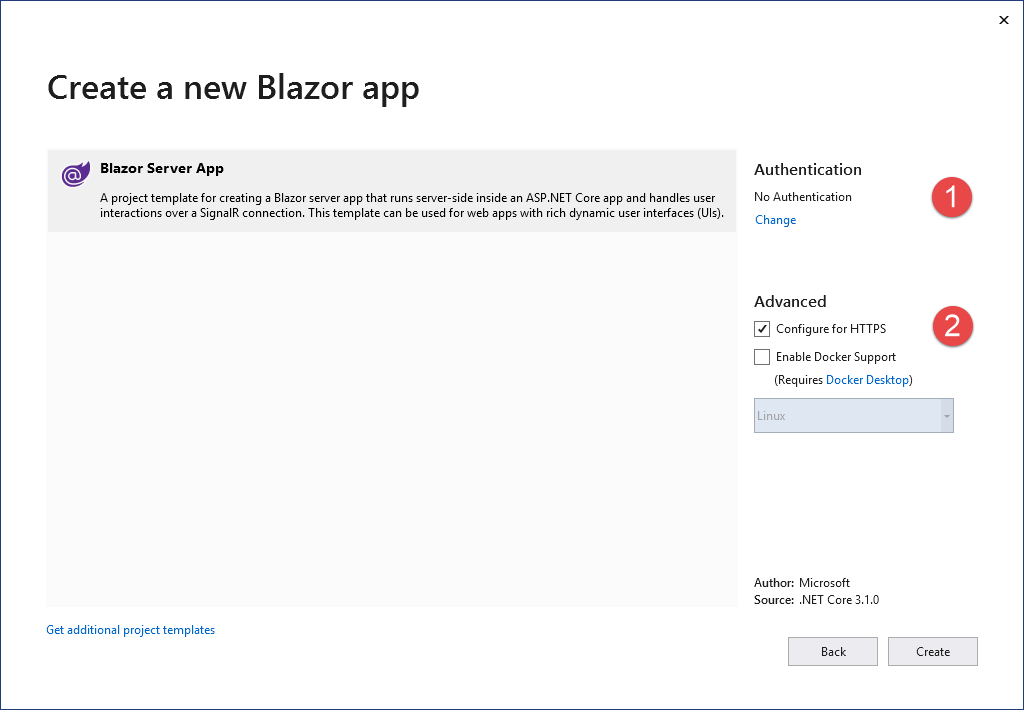
Before finalizing creation of the project, there are 3 more options:
- Authentication – This is if you want to use authentication in your app and do not want to build an authentication system yourself. See more info at: https://docs.microsoft.com/en-us/aspnet/core/security/authentication/individual
- Configure for HTTPS – If this is checked off it will use HTTPS, which as you can see in the next screenshots will require you to import an SSL certificate for testing. I always keep this set to HTTPS
- Enable Docker Support – Since I have Docker Desktop installed you can see there is a value in the dropdown menu, enable this if you will be targeting a container for deployment of your application. More info at: https://docs.microsoft.com/en-us/aspnet/core/host-and-deploy/docker/visual-studio-tools-for-docker
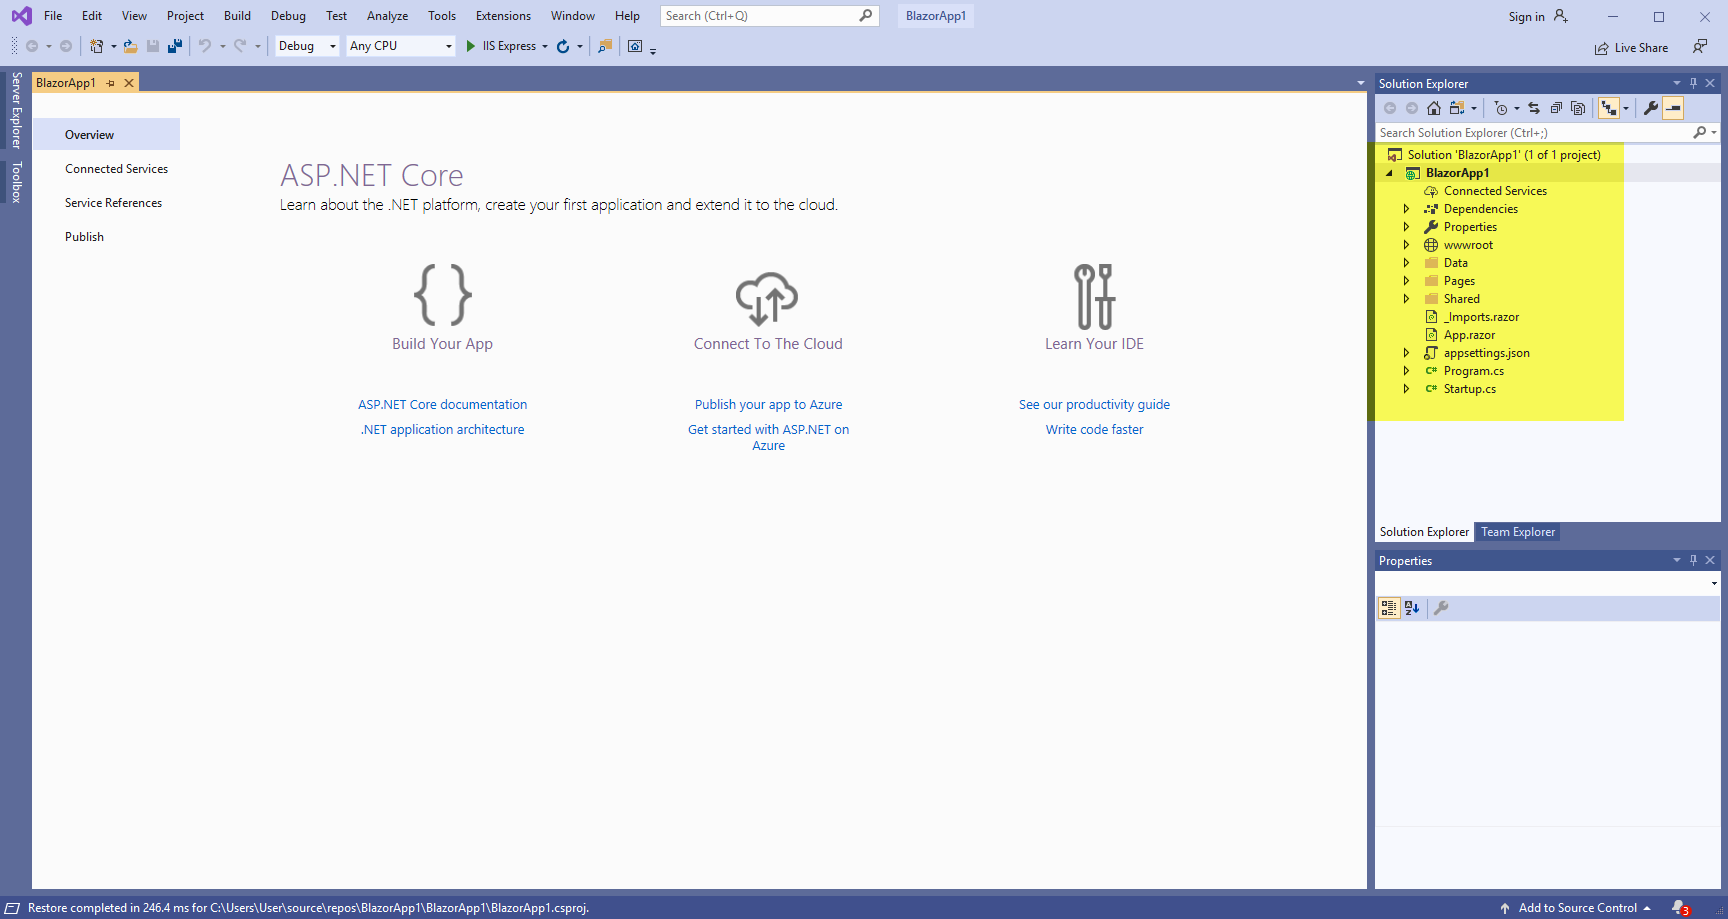
We now see our BlazorApp1 project in Solution Explorer
“
Test the Build
To test the build and make sure everything is working in the project, follow these steps to test the build:
From Visual Studio, Press F5 or go to the menu option Debug > Start Debugging
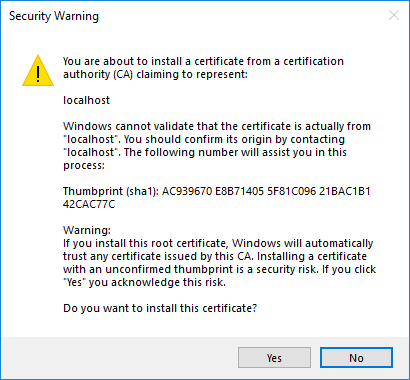
If you selected the “Configure for HTTPS” when creating your project, you will be asked if you trust the certificate, Press Yes
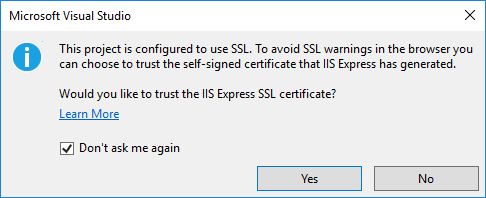
Press Yes to Import the SSL certificate
We now see our BlazorApp1 in the web browser

“
“
“
“
“
“
“