![]()
![]()
![]()

Create a .NET Core 3.1 Console App in Visual Studio Code |
Jan
08
|
| « Install a stand-alone SQL Server 2019 Enterprise Server | Install Terraform on Windows » |
Testing Environment Information:
- Windows 10 Enterprise: Version 1909 (OS Build 18396.535) (Type winver or systeminfo at a Command Prompt)
- Visual Studio Code version 1.41.1 https://code.visualstudio.com/download
- SDK for .NET Core 3.1.100 https://dotnet.microsoft.com/download/dotnet-core/3.1
- Testing Date: 1/8/2020
Background:
Visual Studio Code is a streamlined code editor with support for development operations like debugging, task running, and version control. It aims to provide just the tools a developer needs for a quick code-build-debug cycle and leaves more complex workflows to fuller featured IDEs, such as Visual Studio 2019. VS Code runs on macOS, Linux, and Windows. VS Code is free for private or commercial use. More information at: https://code.visualstudio.com/
Create Console Application:
You must for the SDK for .NET Core 3.1 installed. The link is above.
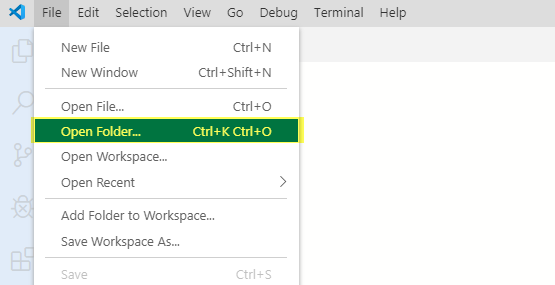
Open Visual Studio Code, File > Open Folder (Ctrl+K Ctrl+O)
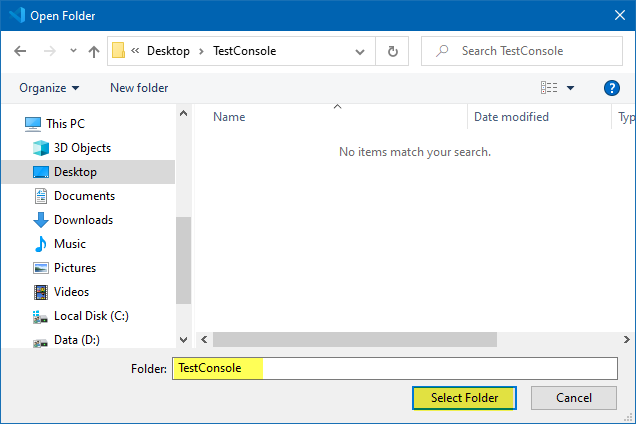
Select an empty folder, then press Select Folder. If you have the Visual Studio explorer extensions installed you can also right click on the folder and select Open with Code
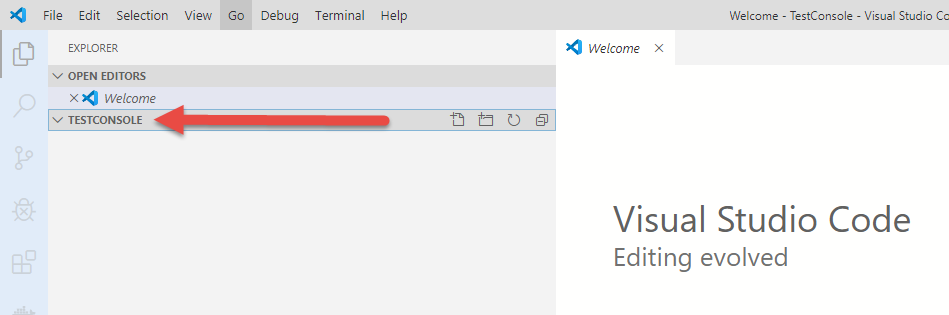
You will now see the folder in your VS Code explorer window, if you do not see explorer go to View > Explorer (Ctrl + Shift + E)
Start a terminal, go to View > Terminal (Ctrl + `)

Type in dotnet new console
You can type in dotnet new -help to see which other templates are available for you to create a project from

You will see that your folder is now populated with some files, this is a template for your console application.
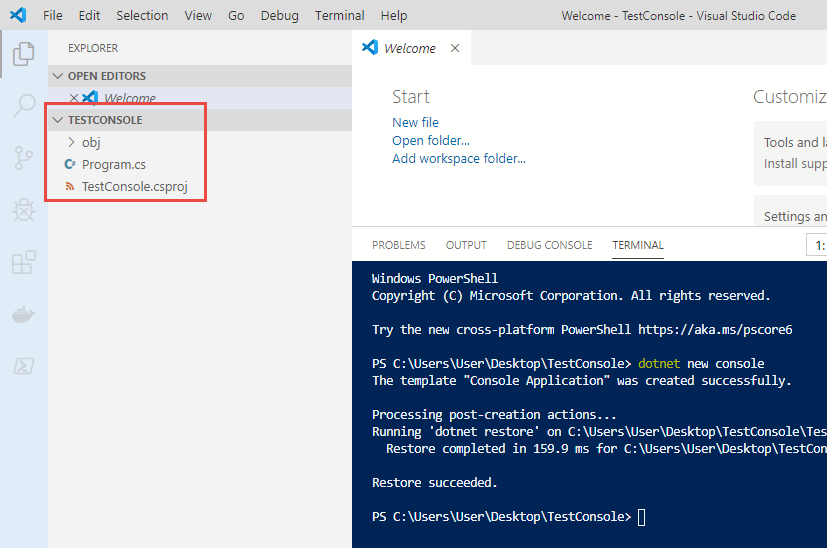
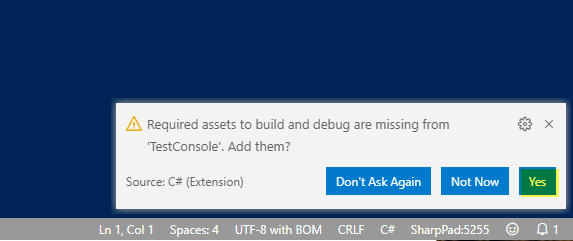
Let’s open Program.cs file by double clicking on it. If prompted to install assets to the build press Yes. This should create a .vscode folder in your project.
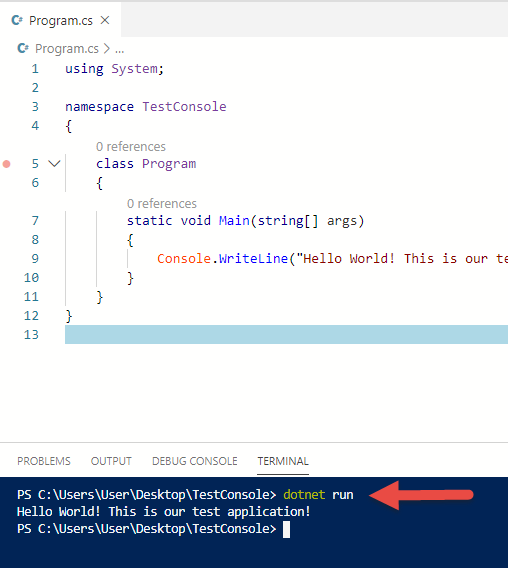
I added in some text after the Hello World! statement and I saved my changes
NOTE: You can have VS Code auto save all changes, go to File > Auto Save

Now let’s test our application, at the terminal window type in dotnet run
it will compile the .EXE into the bin folder and run it.