
![]()
![]()
![]()

StoragePoint Installation and Configuration |
Sep
16
|
| « Externalizing SharePoint Content with StoragePoint | Missing “Create or extend Web application” link in Central Administrator > Application Management » |
Series: Externalizing SharePoint Data
- Externalizing SharePoint Content with StoragePoint
- StoragePoint Installation and Configuration
StoragePoint is a product that allows you to externalize your SharePoint data from SQL BLOBs (Binary Large OBjects) to almost any conceivable storage device available and optionally you can store the externalized content compressed and/or encrypted. As per Microsoft’s recommendation a content database should not exceed 100GB, if you have a content database over 100GB you should consider externalizing your content. This is a win-win situation for both end users and administrators.
Installation
StoragePoint includes an Administrator and a Quick Start Manual that will get you on your way. This installation just follows my progress of my personal installation of StoragePoint.
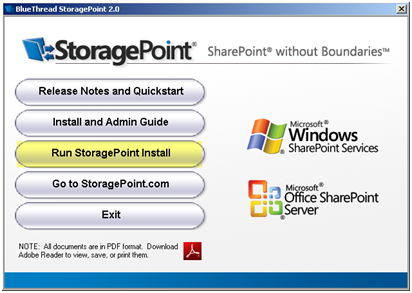
Run the installation executable. Select "Run StoragePoint Install"
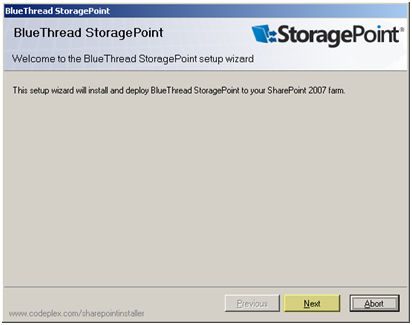
Press "Next" to proceed with the installation
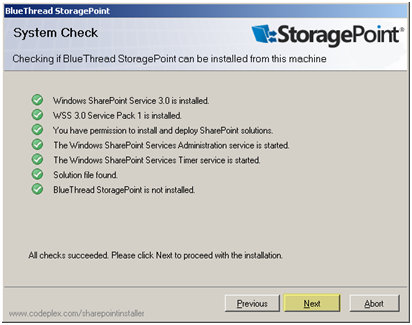
System Check step will determine if the installation can be preformed from the machine and user account you are logged in as. Press "Next" to continue
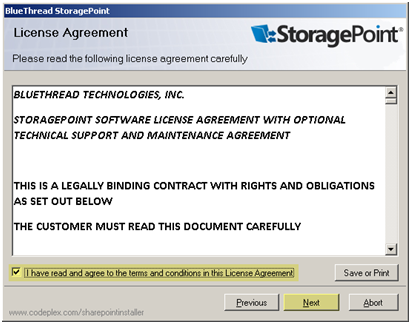
Accept the license agreement and press "Next" to continue
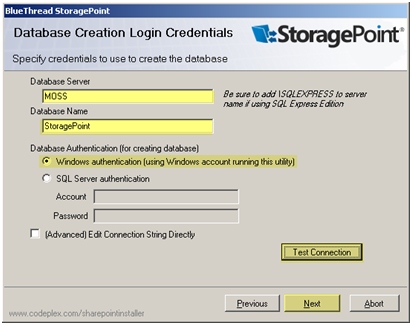
- Enter the Database Server name
- Enter the Database name
- Enter an account with the permissions to create the StoragePoint DB if the account running the installation program does not have the appropriate rights
- Press "Test Connection"
- Press "Next" to continue
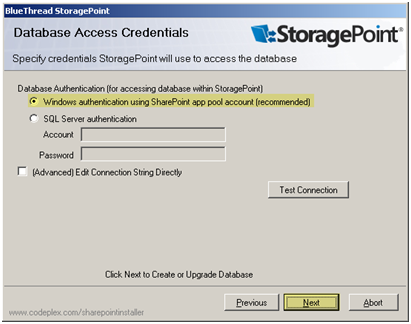
- Specify the account that will be used to access the StoragePoint database, by default it will use the SharePoint app pool account, which should be fine in more cases
- Press "Next" to continue
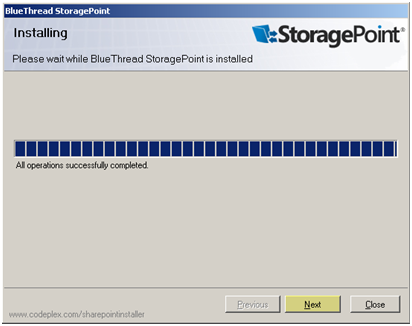
- The installation will install all necessary components
- Press "Next" to continue
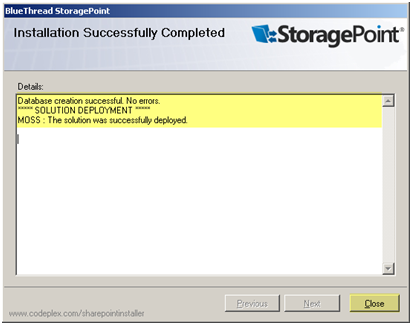
- You should receive a message indicating the Solution was deployed successfully
- Press "Close"
Configuration
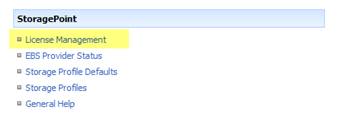
In Central Administrator under Application Management, you will find a new section called "StoragePoint". The configuration of StoragePoint is straight forward. These are the different areas of configuration and summary what they do. I will get into more detail on each section as I configure each section.
- License Management – This section allows you to provision the license for your farm.
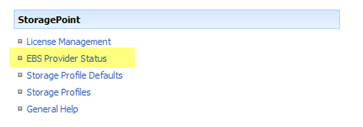
- EBS Provider Status -This section activates the EBS provider in SharePoint
- Storage Profile Defaults (Optional) – This section is where you configure default Externalization options for new web applications that get created on the farm. I am not going to be configuring this because my farm only has one site.
- Storage Profiles – This section is where you configure the Externalization profiles for your SharePoint farm
- General Help– This section is if you need help with StoragePoint
License
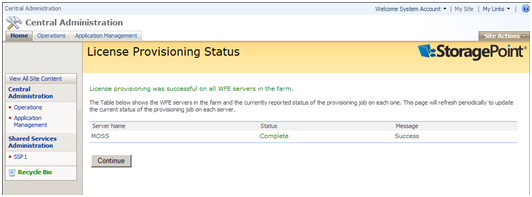
To license the product click on "License Management", follow the instructions to enter your license that was provided to you when you purchased StoragePoint.
Upon entering a valid license key, you should see a message indicating "License provisioning was successfully on all WFE servers in the farm"
EBS Provider Configuration
There are 2 ways to externalize SharePoint data, by using EBS or by using RBS. More information can be found these externalization methods in the following articles:
- SharePoint Archiving #1 – RBS vs. EBS vs. Content Transfer vs. Shortcuts
- SharePoint Archiving #2 – An Overview of the Potential Solutions
- SharePoint Archiving #3 – EBS vs. RBS…the ultimate grudge match
- External Storing of Binary Large Objects (BLOBs) in Windows SharePoint Services -MSDN
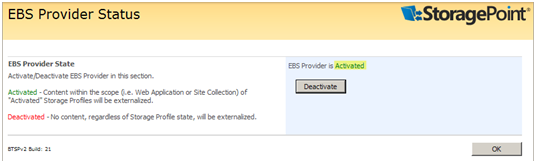
Click "EBS Provider Status"
If the status of your EBS Provider is Deactivated then, Click "Activate"
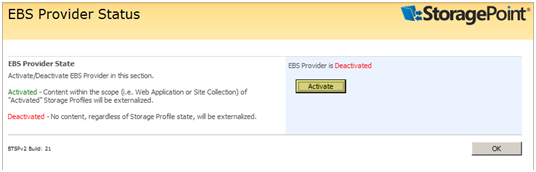
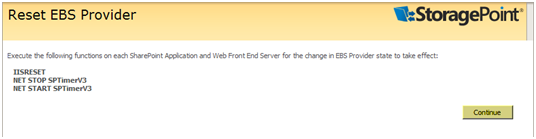
You will need to go to the command prompt and run "IISRESET", "NET STOP SPTimerV3" and finally "NET START SPTimerV3". This will cause the EBS Provider status change to take effect. Run this on all servers in your farm – starting with the indexing server then continuing to each web front end – one at a time.
The EBS provider status should now show as "Activated"
Storage Profiles
You need a place to store the externalized content. StoragePoints supports a vast array of storage options called "Adapters" that allow you to connect to different storage mediums, below are some of the adapters they provide.
Conventional Adapters
- File System (CIFS, NFS, or NTFS Share)
- Hitachi HCAP
- EMC Atmos
- EMC Centera
Cloud Adapters
- Windows Azure BLOB Storage
- ECM Atmos online
- AT&T Synaptic SaaS
- Amazon S3
- Rackspace Cloud Files
- Sun Cloud Storage
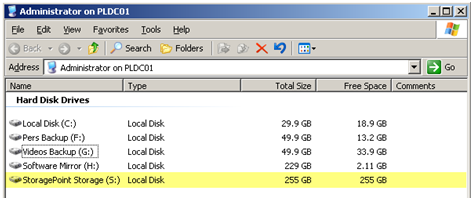
To configure a storage profile you first need to configure your storage medium. For this installation I have created a 256GB partition on a domain controller named PLDC01, the share name is \\PLDCO1\StoragePoint$.
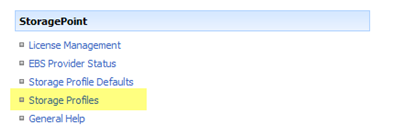
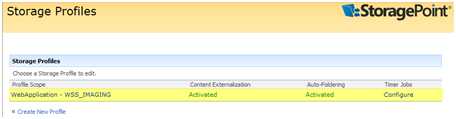
Under StoragePoint, select "Storage Profiles"
Select "Create New Profile"
New Storage Profile Configuration
There are several options to configure in this section. I will describe how to configure each option in this section.
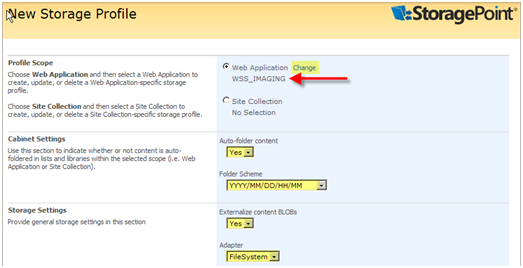
Profile Scope:
- Web Application / Site Collection – This allows you to select either a Web Application or Site Collection, either which you select will create a storage profile for that Web Application or Site Collection. I choose my WSS_IMAGING web application.
Cabinet Settings:
- Auto-folder content – This allows you to store your content with an auto-folder scheme. If you have hundreds of thousands of documents you do not want them all in the same directory. This will create a hierarchal folder structure to store the documents in.
- Folder Scheme – This tells StoragePoint if you are Storing content using an auto-folder set-up
Storage Settings:
- Externalize Content BLOBs – This specifies whether this profile for this Web Application or Site Collection will externalized data or not.
- Adapter – This specifies which adapter to use, I used the file system adapter because I will be externalizing to a file share
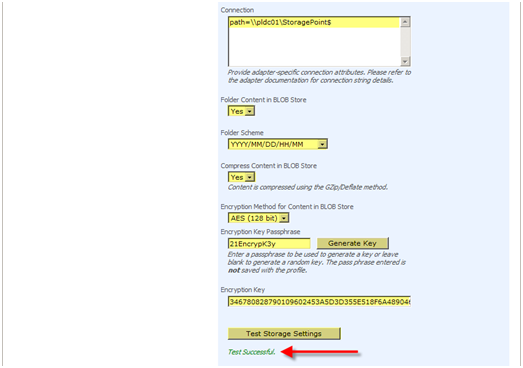
- Connection – This is the path the file share, for different connectors there are different connection syntax’s to use
- Folder Content in BLOB storage & Folder Scheme – This allows you to tailor the folder scheme, Select Yes. I left it at the default which is probably the best way to go.
- Compress Content in BLOB store – This specifies whether or not you want to compress the data, compressing data will impact performance a little bit, depending on your storage. I selected Yes
- Encryption Method for Content in BLOB Store, Encryption Key Passphrase & Encryption Key – This is to set your encryption, encryption will impact performance a little bit. I selected "AES (128 bit)", I then entered a passphrase to generate an encryption key.
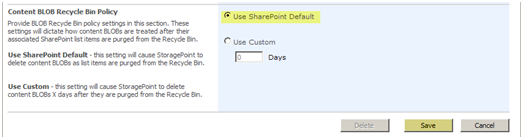
Content BLOB Recycle Bin Policy:
SharePoint Default / Custom – This specifics how StoragePoint deals with documents that are purged from the recycle bin. I selected "Use SharePoint Default".
Timer Job
Once a Storage Profile is created you can configure a Timer Job for the profile, this tells StoragePoint when to run the externalization job on a specific profile.
- Press "Configure" under Timer Jobs for the Storage Profile
There are several options to configure in this section. I will describe how to configure each option in this section.
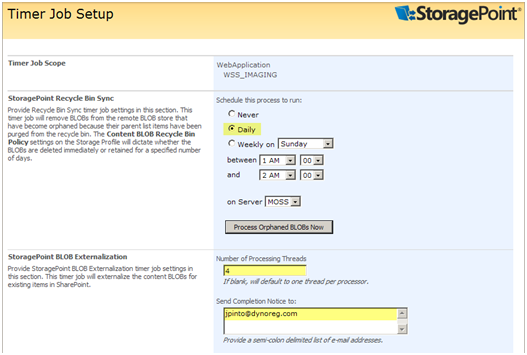
Timer Job Setup:
You can set 3 options on this page. The one you will use to externalize content is "StoragePoint BLOB Externalization", you can either set a schedule to being the externalization or press "Externalize Content Now". I selected "Externalize Content Now"
- StoragePoint Recycle Bin Sync – This lets your schedule when StoragePoint will sync and clean up documents that have been purged from the recycle bin in SharePoint
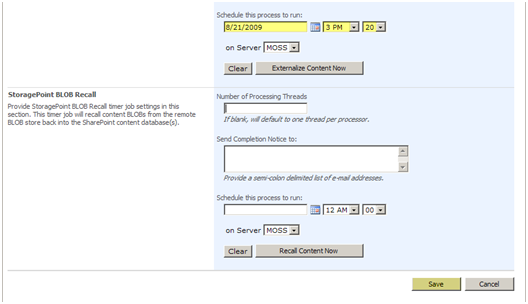
- StoragePoint BLOB Externalization – This lets you configure the externalization you can either set a schedule to being the externalization or press "Externalize Content Now" to begin the externalization process immediately
- StoragePoint BLOB Recall – This lets you configure a recall (which will put all content back in SQL) you can either set a schedule to being the recall or press "Recall Content Now" to begin the recall process immediately
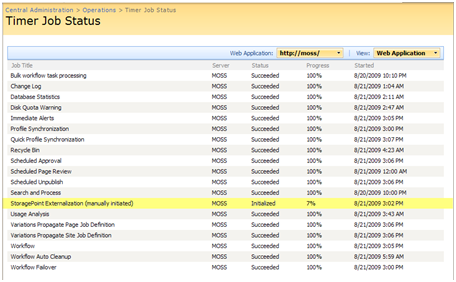
Timer Job Status
In Central Administrator under Operations, there is an option for "Timer Job Status"
Database Maintenance
After the StoragePoint Externalization timer job runs you need to perform a couple of database maintenance tasks. I would recommend running the following on each content database that you externalized, you will recover the space from the SQL BLOB’s and you will see the size of the database dramatically shrink.
- Database Shrink
- Database Re-index